1. Giới thiệu
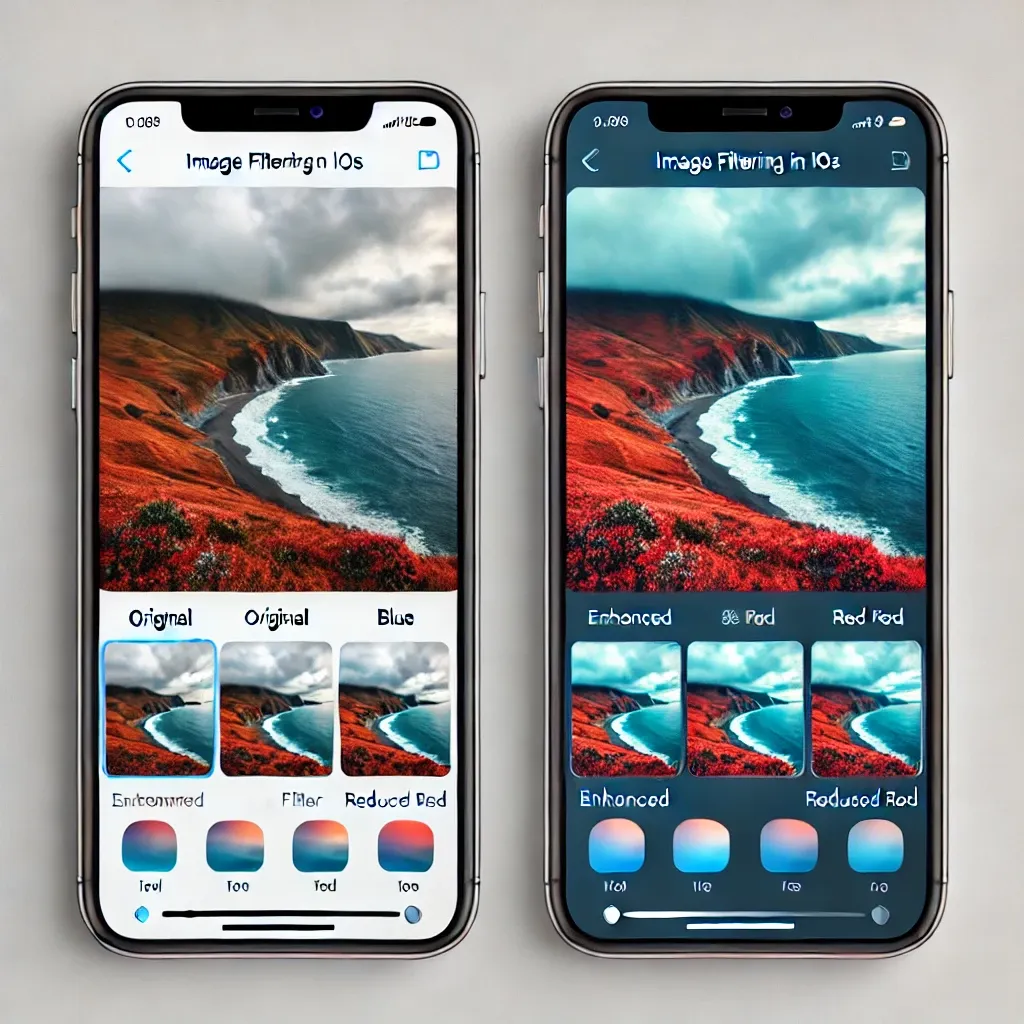
Metal là một framework mạnh mẽ của Apple, giúp tăng tốc đồ họa và xử lý hình ảnh trên iOS, macOS. Trong bài viết này, chúng ta sẽ tìm hiểu cách sử dụng Metal để áp dụng bộ lọc màu lên một ảnh có sẵn trong tài nguyên (Assets).

2. Cấu trúc dự án Metal trong iOS
Để làm việc với Metal, chúng ta cần chuẩn bị các thành phần sau:
- MTKView: Một
MetalKit Viewđể hiển thị kết quả. - MTLDevice: Thiết bị Metal để thực thi các lệnh xử lý đồ họa.
- MTLCommandQueue: Hàng đợi lệnh để gửi các tác vụ tính toán.
- MTLRenderPipelineState: Pipeline đồ họa để chạy vertex và fragment shader.
- MTLTexture: Dữ liệu ảnh đầu vào cần áp dụng bộ lọc.
3. Thiết lập Metal trong iOS
3.1. Tạo lớp Renderer.swift để xử lý Metal
📌 Khởi tạo Metal
Trước tiên, tạo một file Renderer.swift và thêm đoạn code khởi tạo Metal:
import MetalKit

class Renderer: NSObject, MTKViewDelegate {
    var device: MTLDevice!
    var commandQueue: MTLCommandQueue!
    var pipelineState: MTLRenderPipelineState!

    init(mtkView: MTKView) {
        self.device = MTLCreateSystemDefaultDevice()
        self.commandQueue = device.makeCommandQueue()

        let library = device.makeDefaultLibrary()
        let vertexFunction = library?.makeFunction(name: "vertexShader")
        let fragmentFunction = library?.makeFunction(name: "smoothColorFragment")

        let pipelineDescriptor = MTLRenderPipelineDescriptor()
        pipelineDescriptor.vertexFunction = vertexFunction
        pipelineDescriptor.fragmentFunction = fragmentFunction
        pipelineDescriptor.colorAttachments[0].pixelFormat = .bgra8Unorm

        // Thêm vertex descriptor để ánh xạ dữ liệu đầu vào
        let vertexDescriptor = MTLVertexDescriptor()
        vertexDescriptor.attributes[0].format = .float4
        vertexDescriptor.attributes[0].offset = 0
        vertexDescriptor.attributes[0].bufferIndex = 0
        vertexDescriptor.attributes[1].format = .float2
        vertexDescriptor.attributes[1].offset = MemoryLayout<SIMD4<Float>>.stride
        vertexDescriptor.attributes[1].bufferIndex = 0
        vertexDescriptor.layouts[0].stride = MemoryLayout<SIMD4<Float>>.stride + MemoryLayout<SIMD2<Float>>.stride
        pipelineDescriptor.vertexDescriptor = vertexDescriptor

        do {
            pipelineState = try device.makeRenderPipelineState(descriptor: pipelineDescriptor)
        } catch {
            fatalError("Lỗi khởi tạo pipeline state: \(error)")
        }

        mtkView.device = device
        mtkView.delegate = self
    }

    func draw(in view: MTKView) {
        guard let drawable = view.currentDrawable,
              let commandBuffer = commandQueue.makeCommandBuffer(),
              let renderPassDescriptor = view.currentRenderPassDescriptor else {
            return
        }

        let commandEncoder = commandBuffer.makeRenderCommandEncoder(descriptor: renderPassDescriptor)!
        commandEncoder.setRenderPipelineState(pipelineState)
        commandEncoder.endEncoding()

        commandBuffer.present(drawable)
        commandBuffer.commit()
    }
}
4. Viết Shader trong Metal
Tạo một file Filter.metal và thêm đoạn shader sau:
#include <metal_stdlib>
using namespace metal;

struct VertexIn {
    float4 position [[attribute(0)]];
    float2 texCoord [[attribute(1)]];
};

struct VertexOut {
    float4 position [[position]];
    float2 texCoord;
};

// Vertex Shader
vertex VertexOut vertexShader(VertexIn in [[stage_in]]) {
    VertexOut out;
    out.position = in.position;
    out.texCoord = in.texCoord;
    return out;
}

// Fragment Shader (Bộ lọc màu)
fragment float4 smoothColorFragment(VertexOut in [[stage_in]],
                                    texture2d<float> texture [[texture(0)]]) {
    constexpr sampler textureSampler(mag_filter::linear, min_filter::linear);
    float4 color = texture.sample(textureSampler, in.texCoord);

    // Chuyển đổi màu (ví dụ làm nổi bật sắc xanh)
    float3 newColor = float3(color.r * 0.5, color.g, color.b * 1.5);

    return float4(newColor, color.a);
}

5. Hiển thị hình ảnh với Metal
Bây giờ, chúng ta cần tải ảnh từ Assets và hiển thị trên MTKView.
func loadTexture(device: MTLDevice, imageName: String) -> MTLTexture? {
    guard let image = UIImage(named: imageName)?.cgImage else {
        print("Không tìm thấy ảnh \(imageName)")
        return nil
    }

    let textureLoader = MTKTextureLoader(device: device)
    return try? textureLoader.newTexture(cgImage: image, options: nil)
}
Sau đó, chỉnh sửa Renderer để sử dụng texture:
var texture: MTLTexture?

init(mtkView: MTKView) {
    self.device = MTLCreateSystemDefaultDevice()
    self.commandQueue = device.makeCommandQueue()
    self.texture = loadTexture(device: device, imageName: "sample") // Ảnh từ Assets

    // Các bước khác như trên
}
6. Kết nối với ViewController
Trong ViewController.swift, khởi tạo MTKView và Renderer:
import UIKit
import MetalKit

class ViewController: UIViewController {
    var mtkView: MTKView!
    var renderer: Renderer!

    override func viewDidLoad() {
        super.viewDidLoad()

        mtkView = MTKView(frame: view.bounds)
        view.addSubview(mtkView)

        renderer = Renderer(mtkView: mtkView)
    }
}
7. Chạy ứng dụng và xem kết quả
Bây giờ, chạy ứng dụng trên iOS Simulator hoặc thiết bị thật để kiểm tra hiệu ứng bộ lọc màu!

8. Kết luận
Trong bài viết này, chúng ta đã tìm hiểu cách:
✅ Khởi tạo Metal trong iOS
✅ Viết shader Metal để áp dụng bộ lọc màu
✅ Load ảnh từ Assets và hiển thị trên MTKView
✅ Sử dụng MTLTexture để xử lý hình ảnh
Nếu bạn muốn tạo bộ lọc nâng cao hơn như Black & White, Sepia, Blur, chỉ cần thay đổi code trong fragment shader. 🚀


